Sentinel Deployment & Lifecycle
The deployment of a Sentinel is a deliberate mechanical process designed to ensure that background monitoring is both stable and accurate.
1. Pre-Deployment Verification
Before a Sentinel is "deployed" in the background, it should be validated in the Script Gallery. This allows you to test the logic in a controlled, single-run environment.
- Load the Source: Ensure the folder containing your Sentinel is added as a Script Source.
- Configure Parameters: Open the Sentinel in the Script Inspector and set your thresholds (e.g., Tolerance = 5mm).
- Run & Inspect: Execute the script and verify the results in the Table or Analytics tab.
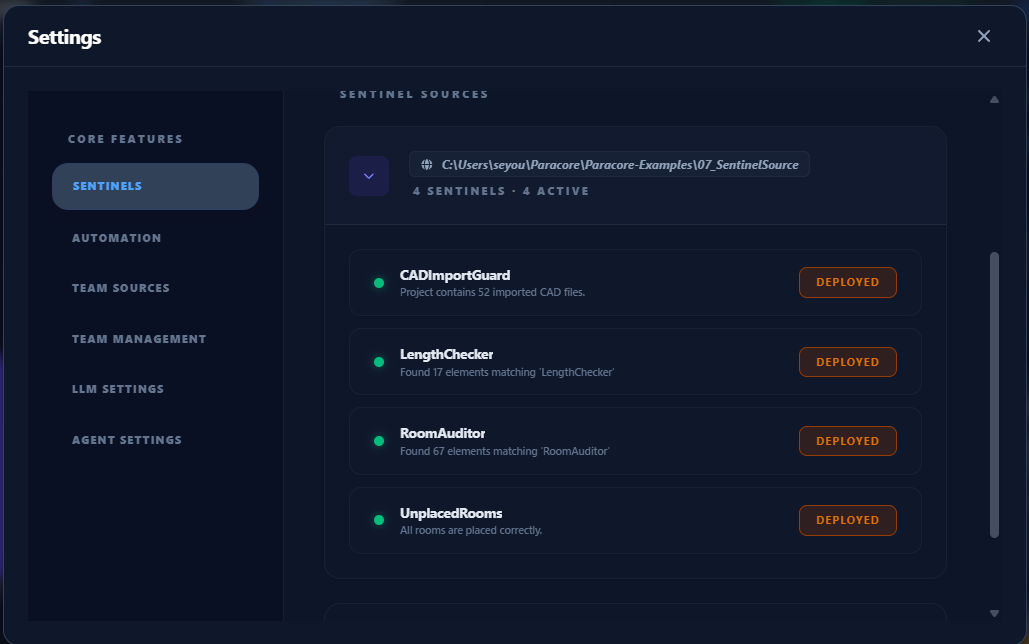
2. The Deployment Process
Once verified, navigate to Settings > Sentinel Settings to finalize deployment.
Parameter Snapshotting
The most critical aspect of Sentinel deployment is the Snapshot.
[!IMPORTANT] When you click Deploy, Paracore captures the exact state of the Parameters tab for that script. The background process will use these values exclusively.
Updating Active Sentinels
If you need to change a threshold (e.g., change Tolerance from 5mm to 10mm) while a Sentinel is running:
- Undeploy: Release the background hook.
- Adjust: Change the value in the Parameters tab.
- Redeploy: Take a new snapshot of the updated values.
3. Bulk Management
For large-scale projects, use the bulk action buttons:
- Deploy All: Deploys every Sentinel within the selected source folder simultaneously.
- Undeploy All: Safely unregisters all background hooks, freeing Revit memory.
Proper lifecycle management ensures that your background monitoring remains a surgical tool rather than a system burden.